
Are you looking to make your deck last for years to come?
Preparing and staining your deck is the key to a long-lasting finish.
Follow these simple steps to get the job done right. From gathering the necessary materials and tools to finishing the project, learn how to properly prep and stain your deck for long-lasting results.
You'll need to gather the necessary materials and tools before you get started. Depending on the project, you may need a power washer, a deck cleaner, sandpaper, a paintbrush, a roller, and a sealer.
Make sure you have the right type of paint or stain for your decking material. You'll also need drop cloths, painter's tape, and plastic sheeting to protect surrounding areas.
Don't forget goggles and a mask to protect yourself from harsh chemicals and dust. Finally, make sure you have enough rags and a bucket to clean up any messes.
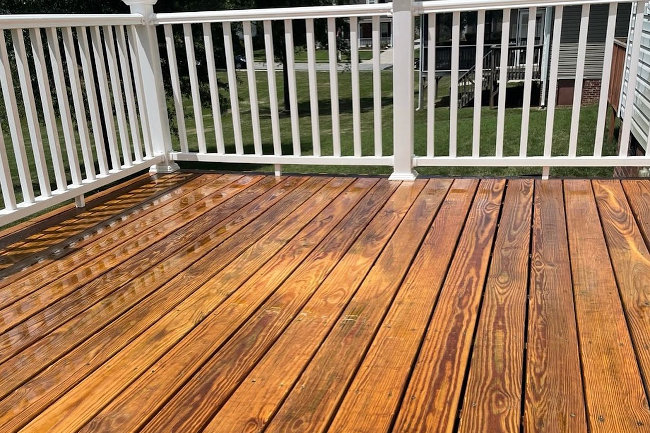
Before staining, it's important to get the deck surface ready. You'll need to remove any old paint or stain, as well as dirt, mildew, and debris. Start by using a pressure washer to wash off the deck, then use a stiff-bristled brush and deck cleaner to scrub away dirt and residue.
Rinse the deck thoroughly and let it dry completely. Next, use a putty knife to remove any peeling paint or stain, then sand away any rough spots or splinters.
Finally, inspect the deck for any nails or screws that may have popped up. If you find any, drive them back in with a hammer or drill. Now your deck is ready for stain.
Scrub the deck with a stiff-bristled brush and deck cleaner to get rid of dirt and residue. Make sure to wear protective gloves and safety glasses when handling the cleaner.
Use a long-handled brush to reach into corners and crevices, and rinse the deck with a garden hose in between passes. For tougher spots, allow the cleaner to sit for a few minutes before scrubbing.
Once you've thoroughly scrubbed the deck, rinse it off with a garden hose to remove any remaining cleaner. Let the deck dry for 24 hours before staining. You'll know it's dry when it no longer feels cool to the touch.
After you've cleaned the deck, use a belt sander to smooth out the surface. Start with a medium-grit sandpaper and work your way up to a fine-grit. This will remove any dirt, grime, and splinters.
Make sure to wear a dust mask and safety glasses to protect your eyes and lungs. Move the sander in the direction of the grain. If you go against the grain, you could damage the wood.
After sanding, vacuum the dust and debris off the deck. Then, use a rag to wipe the surface clean. This will help ensure that the stain adheres evenly. Take time to sand the wood properly - it will make all the difference in how long your stain lasts.
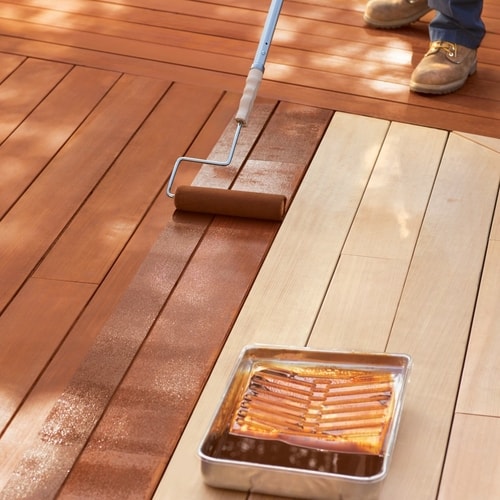
Once you're done sanding, it's time to apply the stain to your deck. Start by prepping the area. Remove any dirt, debris, or furniture that may be in the way. Make sure the surface is clean and dry before applying the stain.
Stir the stain or sealer thoroughly before using. If necessary, thin the stain with mineral spirits. Then, use a brush or paint roller to apply the stain in an even coat. Don't apply too much stain at once, and don't forget to cover the railings.
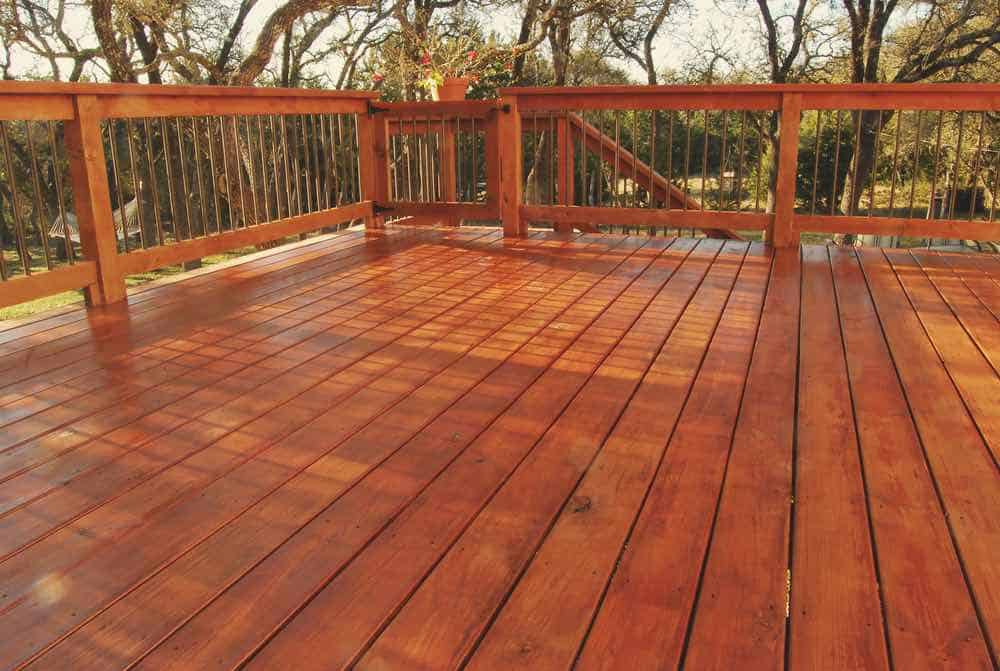
Allow the stain to dry completely before adding additional coats. Once finished, you will have a beautifully stained deck that will last for years.
To complete the project, you'll need to seal the deck with a clear coat for a beautiful, durable finish. Apply the sealant with a brush or roller, following the manufacturer's instructions. Make sure to wear protective clothing and goggles to keep the sealant away from your skin and eyes.
Allow the sealant to dry for at least 24 hours before you use the deck. Once the sealant is dry, you can use the deck as normal. To keep your deck looking its best, you'll need to clean it regularly with a mild detergent and a soft brush.
Additionally, you should periodically inspect your deck for signs of damage or wear. If you do notice any issues, take the necessary steps to repair them as soon as possible. This will help to ensure the longevity of your deck and keep it looking great for years to come.
If you want to keep your deck looking great, you should consider re-staining it every two to three years. This will help protect the wood from harsh weather, wear and tear, and UV rays that can cause fading and discoloration. Depending on the type of wood, the amount of sunlight it's exposed to, and how often it's used, the frequency of re-staining may vary. If you regularly maintain your deck, you may be able to extend the time between staining.
Deck staining can last up to two years, depending on the type of stain you choose and how well you maintain it. The amount of sun exposure and weather conditions can also affect longevity. If you're looking for a longer lasting finish, opt for an alkyd or oil-based stain. These provide more protection from UV damage and moisture. Regular cleaning and sealing can help keep your deck looking its best and extend the life of the stain. With proper maintenance, you can enjoy your beautiful deck for years to come!
When it comes to staining your deck, there are many different types of stains available. You can choose from clear and semi-transparent stains, solid stains, toners, and semi-solid stains. Clear and semi-transparent stains offer protection and color but allow the natural grain of the wood to show through. Solid stains provide uniform color and coverage, and toners and semi-solid stains can be used to give your deck a bit of color without hiding the natural grain of the wood. No matter which type of stain you choose, make sure you read the instructions carefully and follow all safety guidelines.