
DIY rooflight installation offers a practical solution for homeowners seeking to increase natural light and improve energy efficiency.
The process, while straightforward, requires careful planning and execution. From selecting the appropriate rooflight to ensuring a watertight seal, each step is vital for a successful outcome.
Understanding the essential tools and techniques can make the difference. Homeowners may find themselves wondering what the installation process entails and how to maintain their new feature effectively.
When selecting a rooflight, what factors should homeowners consider to secure the best fit for their space? First, the size and shape of the rooflight must align with the dimensions of the room and roof structure. Homeowners should assess the existing architecture to confirm compatibility.
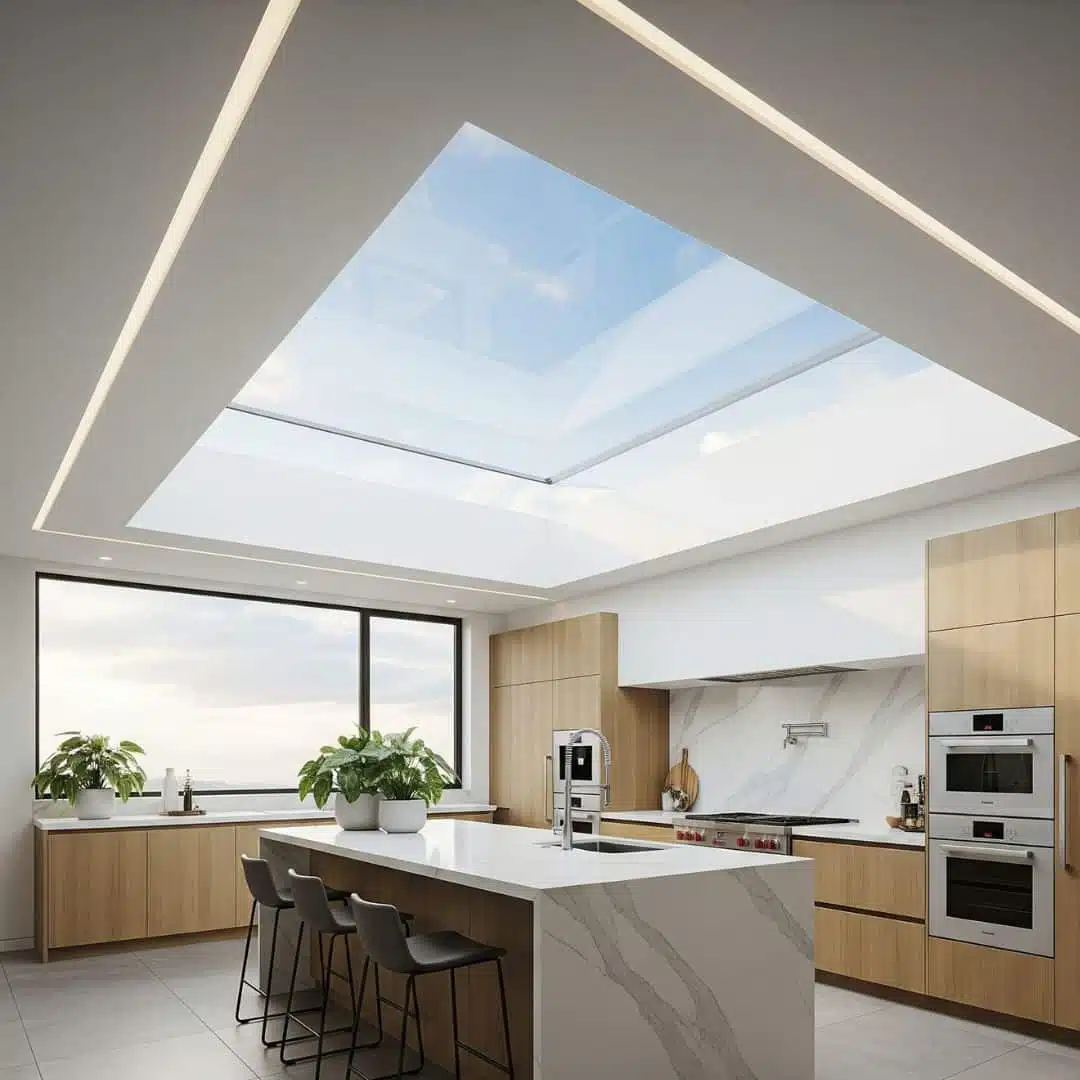
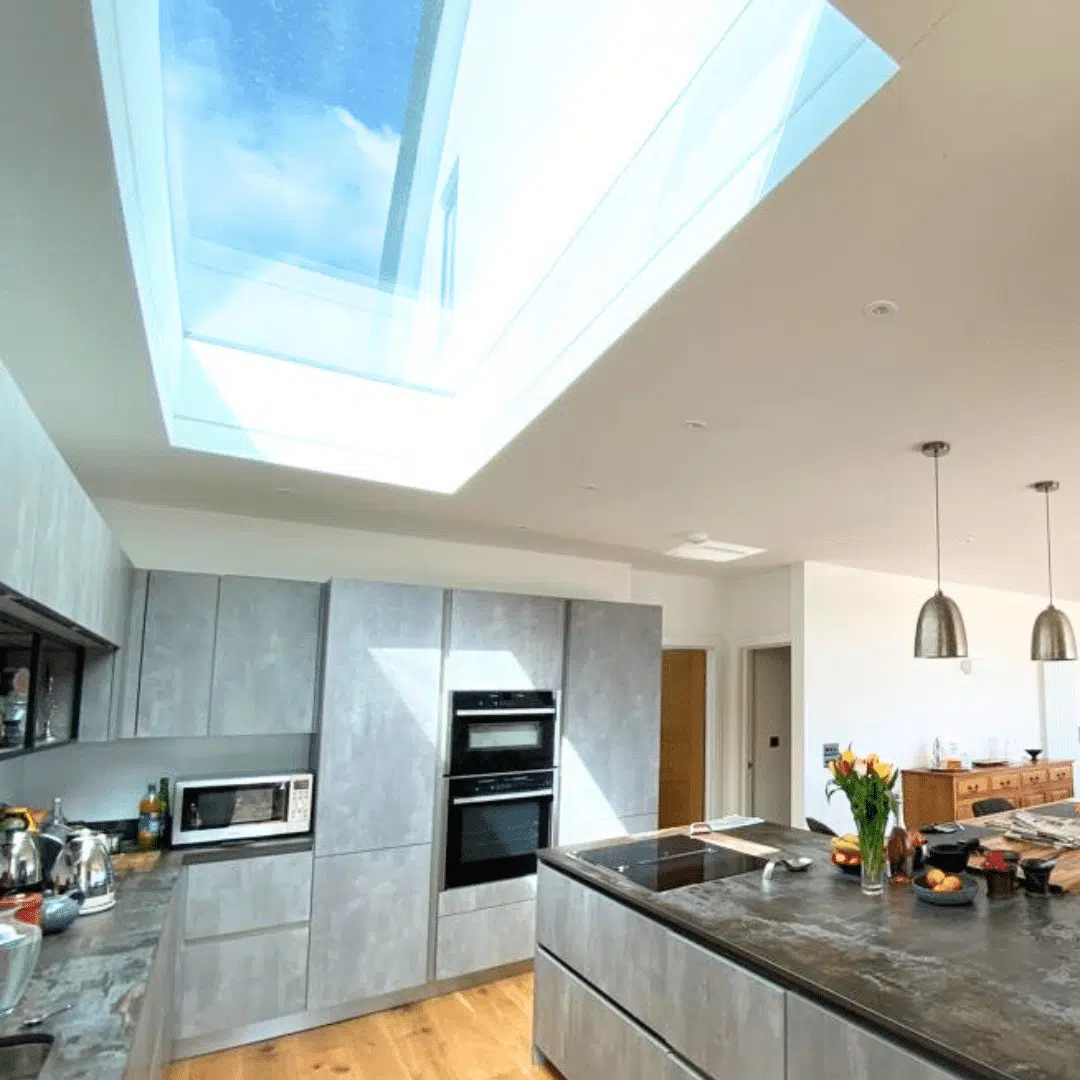
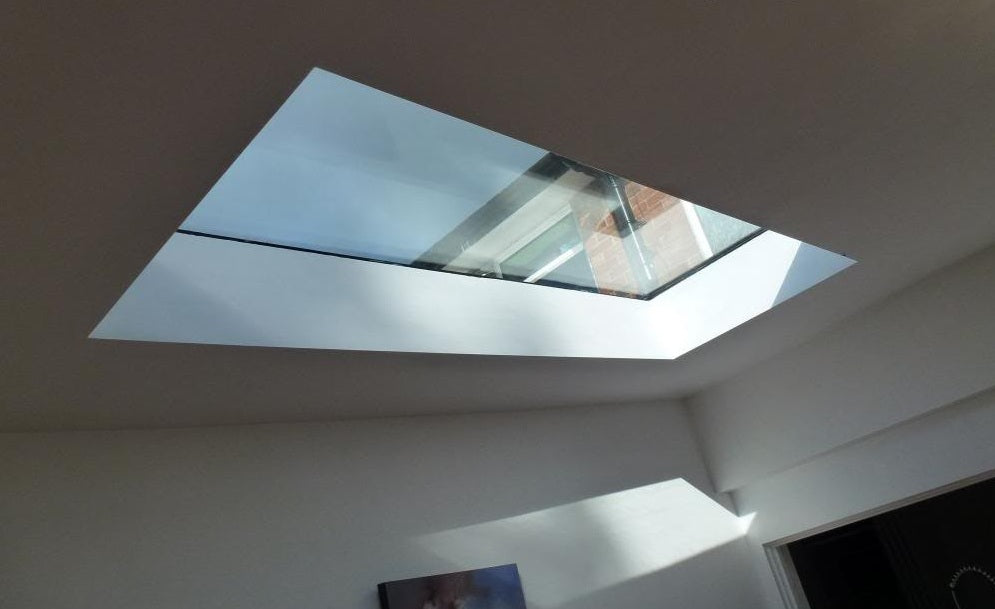
Next, the type of glazing is vital; energy efficiency and UV protection are essential for maintaining a comfortable indoor climate. Additionally, homeowners should consider the orientation of the rooflight, as this affects natural light levels and potential heat gain. The style of the rooflight should complement the home's design, whether opting for a fixed, vented, or tubular option.
Finally, budget constraints will influence the choice, as various models come with different price points. By carefully evaluating these factors, homeowners can select a rooflight that enhances both functionality and aesthetics in their living space.
A successful rooflight installation hinges on having the right tools and materials at hand. Vital tools include a tape measure for accurate measurements, a level to guarantee proper alignment, and a utility knife for precise cutting.
A drill and a set of drill bits are necessary for making holes in the roof structure, while a hammer and a set of nails or screws will secure the rooflight in place. Safety goggles and gloves are essential for protection during the installation process.
Additionally, a pry bar can help remove roofing materials if needed. Finally, a ladder is vital for reaching the installation site safely. Gathering these tools beforehand will streamline the installation process and enhance the overall outcome.
Successful rooflight installation requires a careful selection of materials in addition to the essential tools. Homeowners should begin by acquiring a rooflight unit appropriate for their specific roof type and design. Flashing kits are essential to guarantee waterproofing around the installation area.
Quality sealant is necessary to prevent leaks, while roofing adhesive will secure the rooflight in place. Additionally, insulation materials may be needed to maintain energy efficiency. A vapor barrier can help manage moisture.
For structural integrity, homeowners should have appropriate supports, such as timber or metal brackets. Finally, safety equipment, including goggles and gloves, is crucial. By gathering these materials beforehand, the installation process can proceed smoothly and efficiently.
Evaluating the condition of the roof is vital for a successful rooflight installation. Homeowners should begin by inspecting for any visible damage, such as missing shingles, cracks, or signs of water leakage. A thorough examination of the roofing material is necessary to guarantee it can support the added weight of a rooflight.
If the roof is older or shows significant wear, repairs or even replacement may be required before installation. Additionally, checking the underlying structure for rot or deterioration is essential, as this can impact the roof's integrity.
By addressing these issues beforehand, homeowners can avoid complications during the installation process and ensure a safe, effective addition to their living space.
Gathering the right tools is vital for a smooth rooflight installation process. Homeowners should begin by acquiring a ladder that reaches the roof comfortably. A power drill with various bits, a handsaw, and a utility knife will be necessary for cutting and securing materials.
Additionally, a level guarantees precision during installation, while measuring tape aids in accurate dimensions. Safety gear, including gloves and goggles, is imperative to protect against potential hazards. A caulking gun and weatherproof sealant will provide adequate insulation against the elements.
Finally, a helper or spotter can assist by holding materials and guaranteeing safety during the installation. With the proper tools on hand, homeowners can confidently proceed to the next steps of their rooflight installation project.
A successful rooflight installation involves a series of carefully executed steps that guarantee both functionality and aesthetics. First, homeowners should mark the location for the rooflight, ensuring it aligns with both interior and exterior considerations. Next, they must remove the roofing material at the designated area, taking care to follow safety protocols.
Once the opening is created, the homeowner should frame the opening with appropriate support, ensuring it adheres to structural guidelines. Following this, the rooflight unit is positioned into the opening, with attention paid to level and fit.
Securing the rooflight in place is essential; this typically involves fastening it to the surrounding structure using screws or brackets. Afterward, homeowners should check for alignment and adjust as necessary. Finally, they can proceed to finish the surrounding area, preparing it for the next stages of the installation process. Proper execution at this stage lays a solid foundation for the remaining tasks.
Generally, planning permission is not required for rooflight installation, provided certain conditions are met. However, it is advisable to consult local regulations, as requirements can vary based on property type and location.
Yes, rooflights can be installed in existing homes. Professionals typically assess structural integrity, insulation, and compatibility with the current design, ensuring that the installation enhances both aesthetics and functionality without compromising the existing structure.
Rooflights enhance energy efficiency by maximizing natural light, reducing reliance on artificial lighting. They can also improve thermal insulation, helping to maintain a comfortable indoor temperature, ultimately lowering energy consumption and costs for homeowners.